Painting at a beautiful Peony farm.
Sometimes I stay in my car and paint.
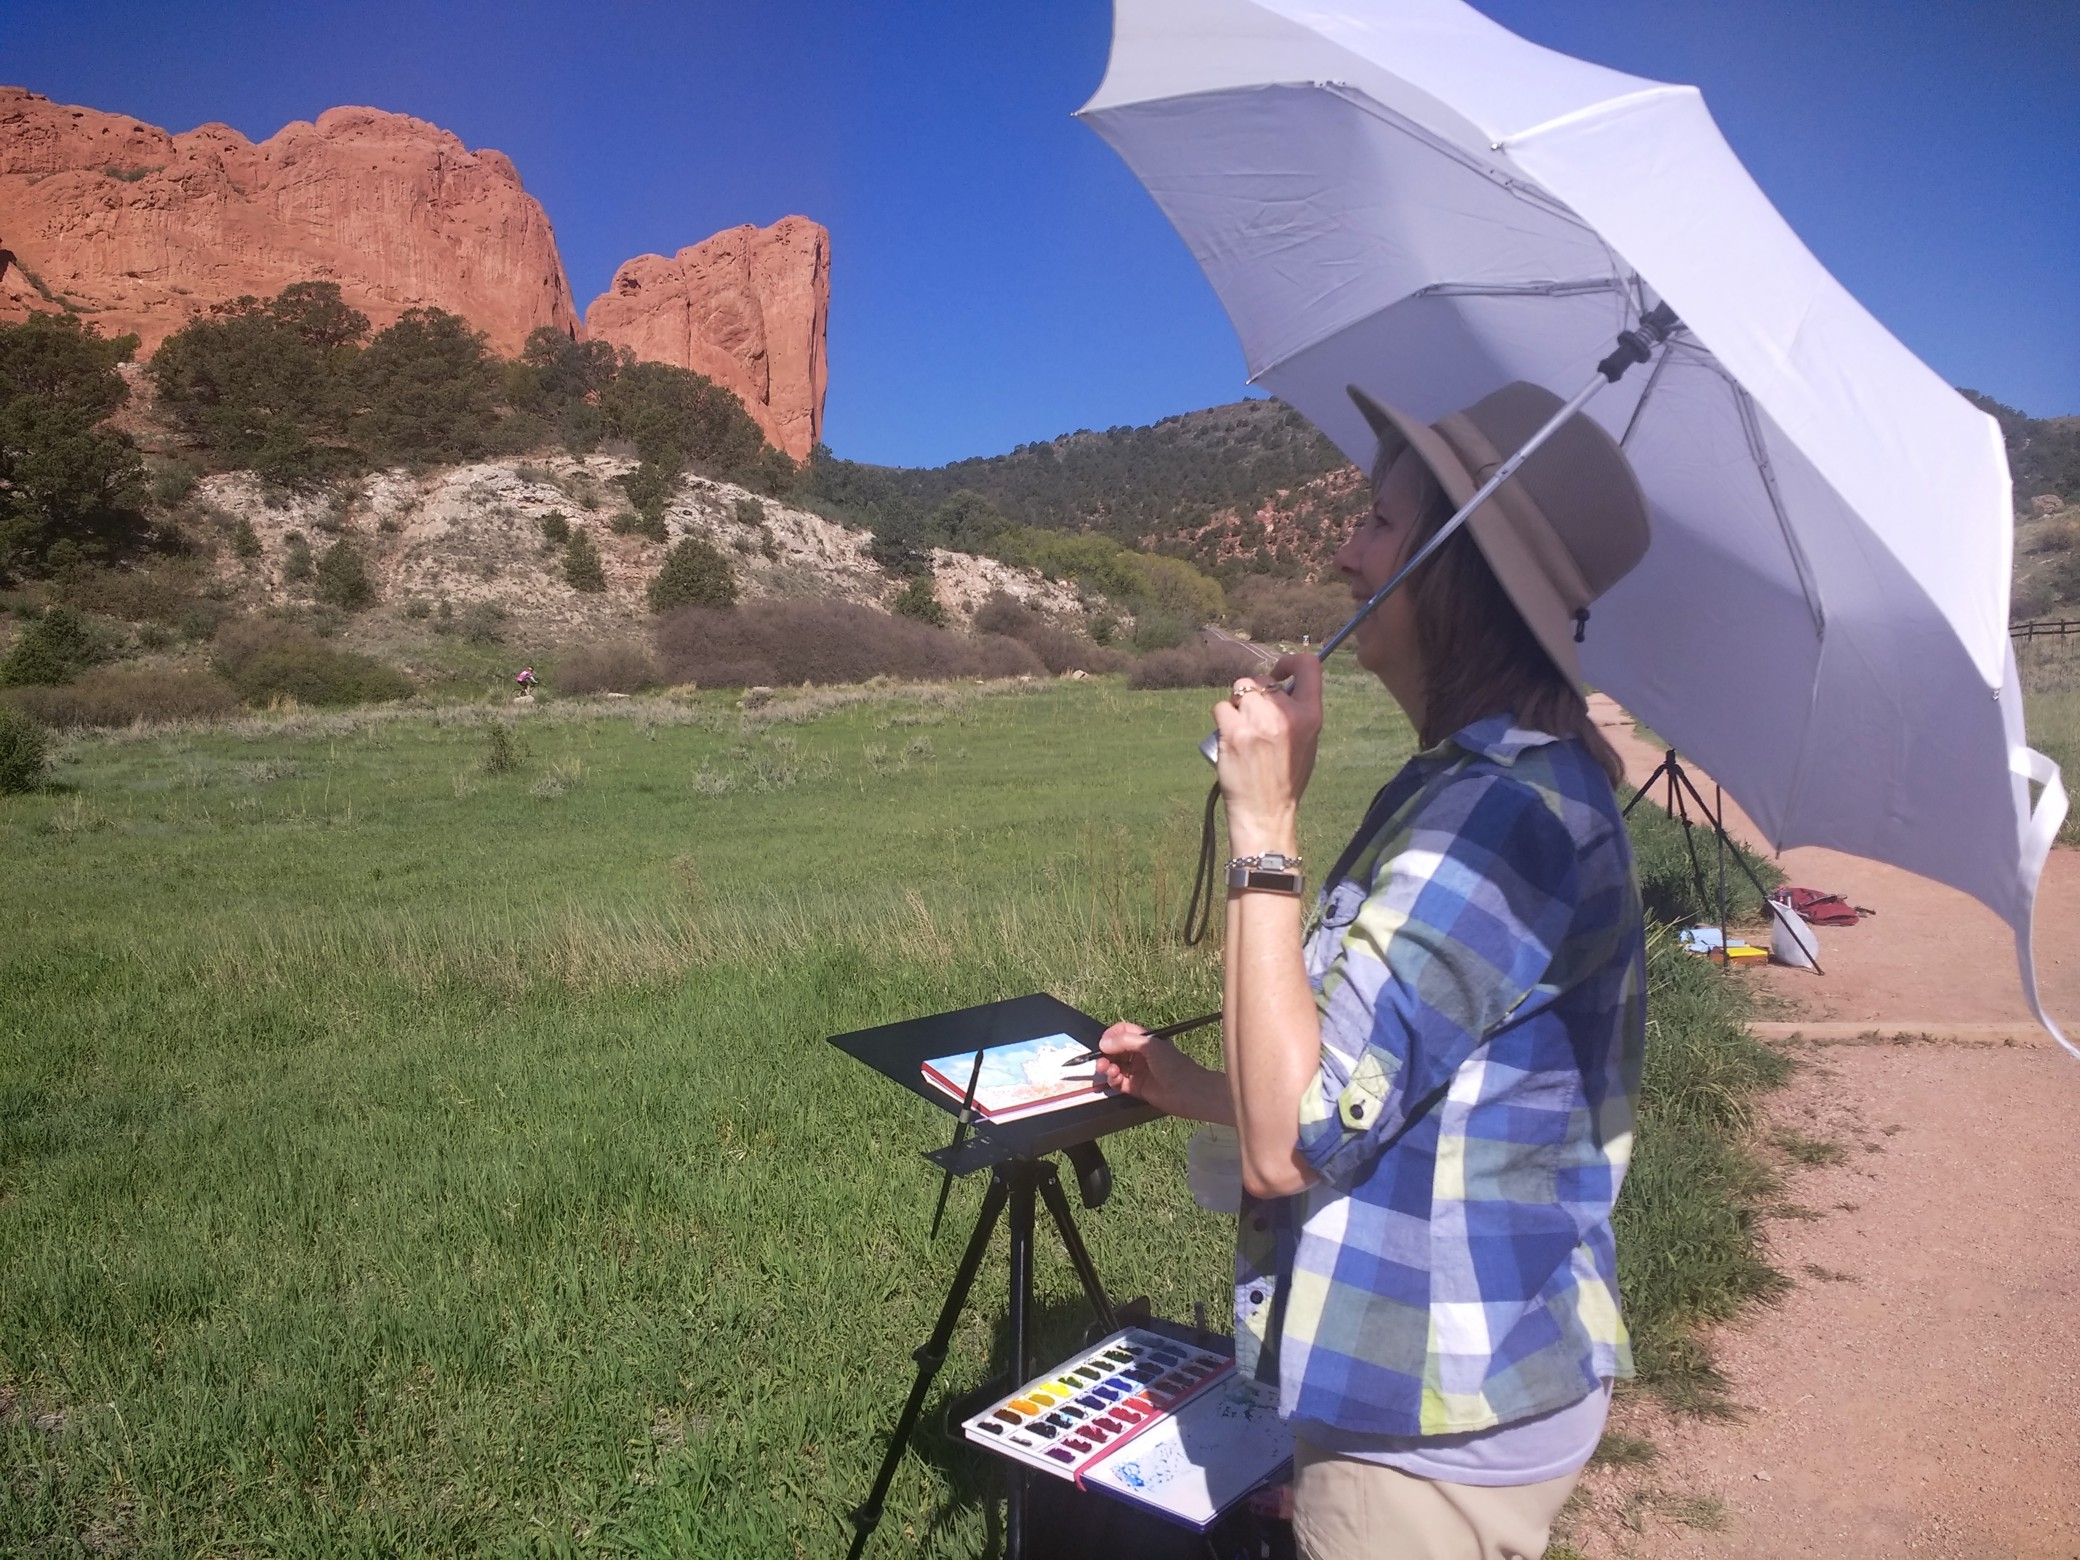
When the weather warms up and the days are longer, I get the urge to be outside. In the last few years I've done more plein air (out of doors) painting. I have joined a couple of groups in the area and really enjoy the camaraderie of painting with other artists and the challenge of painting the quickly changing scene in front of me. Plein air is a French term coined in the mid 19th century and is characterized by the luminous effects of outdoor light. Plein air has seen a resurgence in recent years with thousands of artists, plein air events and shows, podcasts, Youtube videos (Andrew Tischler is an oil painter with very good plein air videos), and the 'Plein Air Magazine' promoting its benefits. One article I read had a great quote - "Today the movement is unstoppable; it has become “the new golf” as tens of thousands have taken up plein air painting across the world". (http://paintoutside.com/wp/the-history-of-plein-air-painting/)
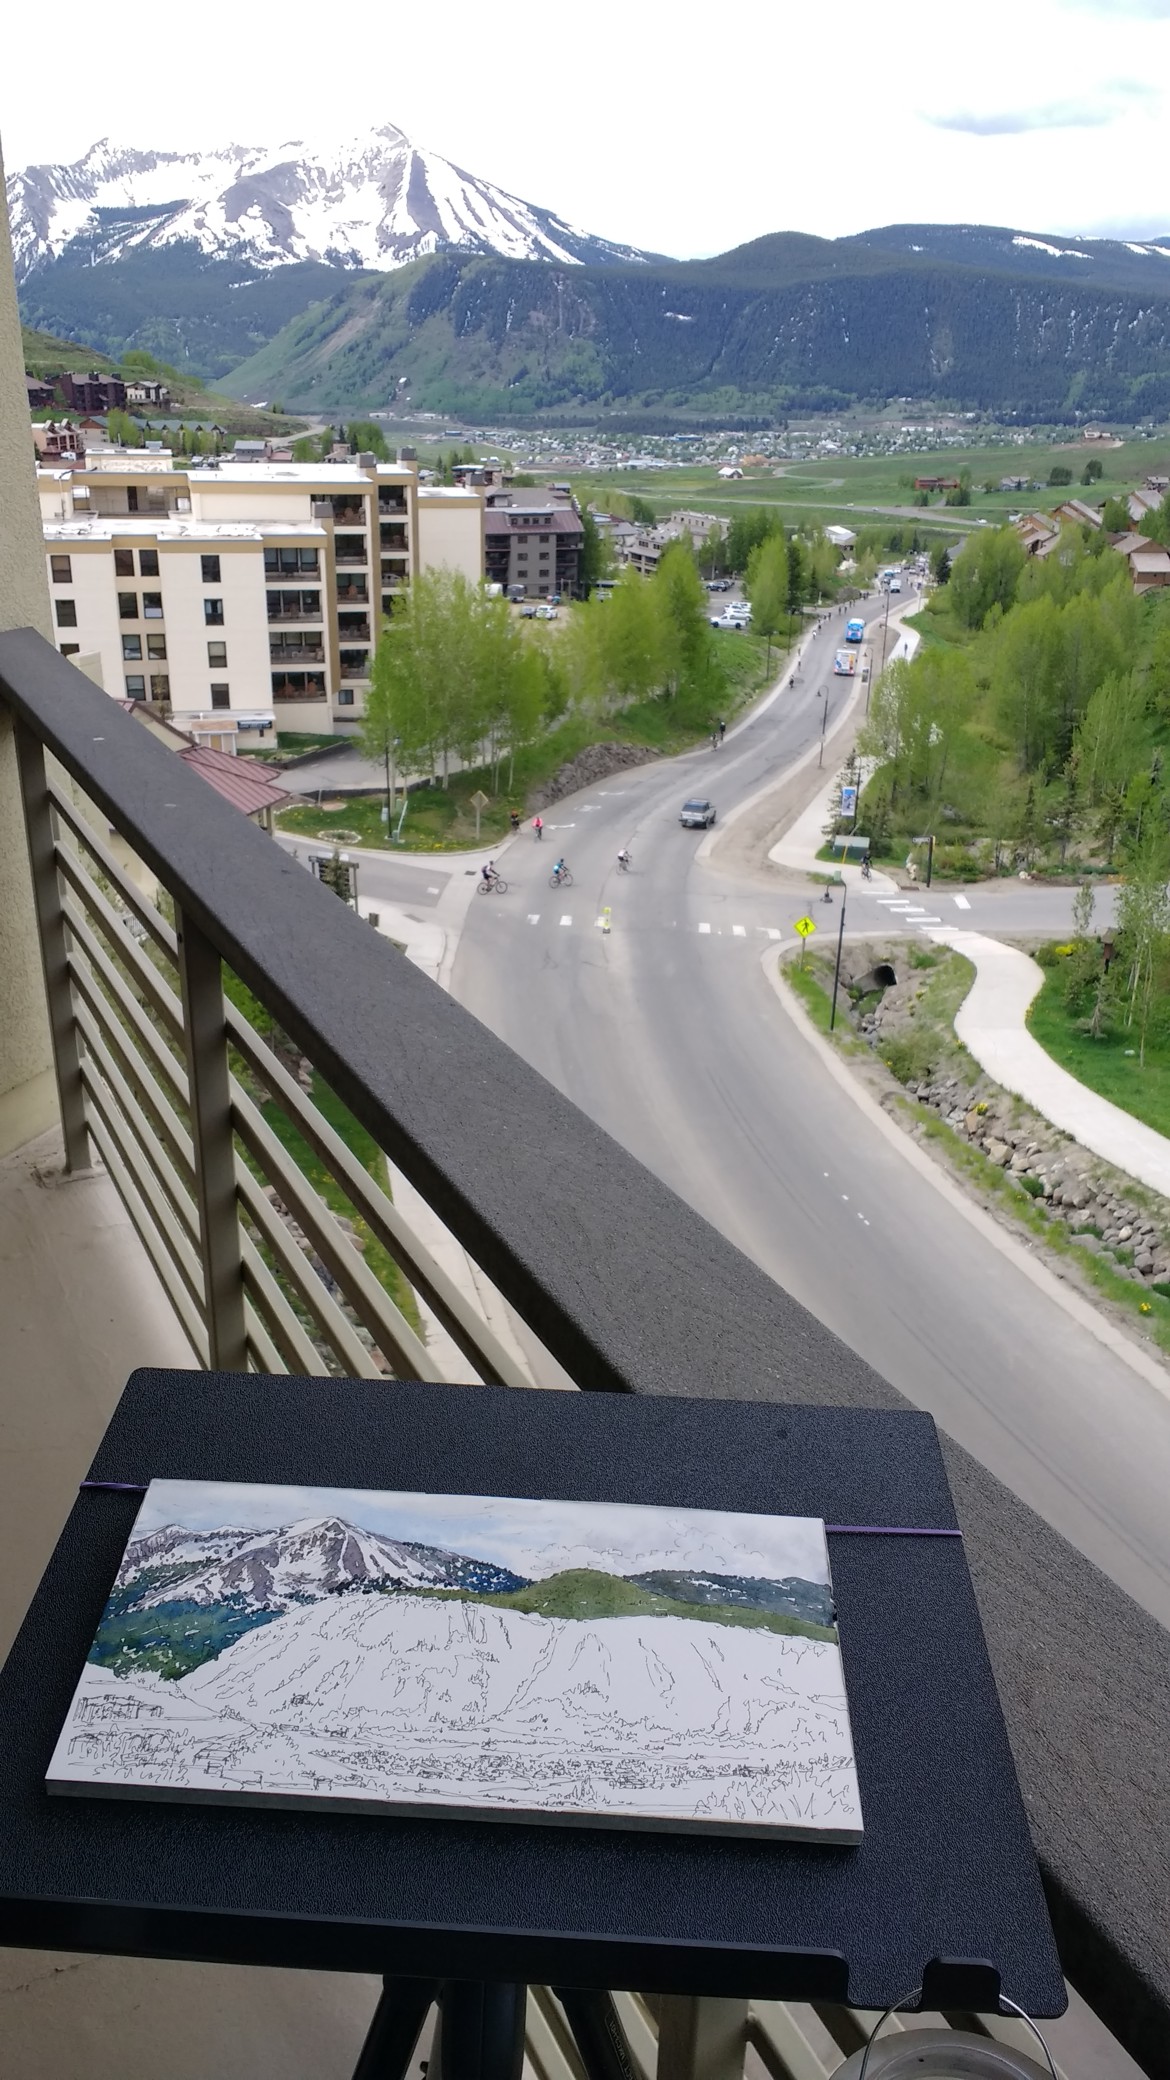
When I paint on location, I have to speed up my usually very slow, controlled process of painting. I find it good to get out of my comfort zone of the studio. Plein air paintings are usually done in a looser fashion, but can be slower and done by going back to the same location over several days or weeks. Some of the challenges are the rapidly changing light, wind, temperatures, and insects. Sometimes I will paint in my car to avoid some of those challenges. However, actually being on location and dealing with the challenges that occur can actually heighten your memories and add to the look of your painting.
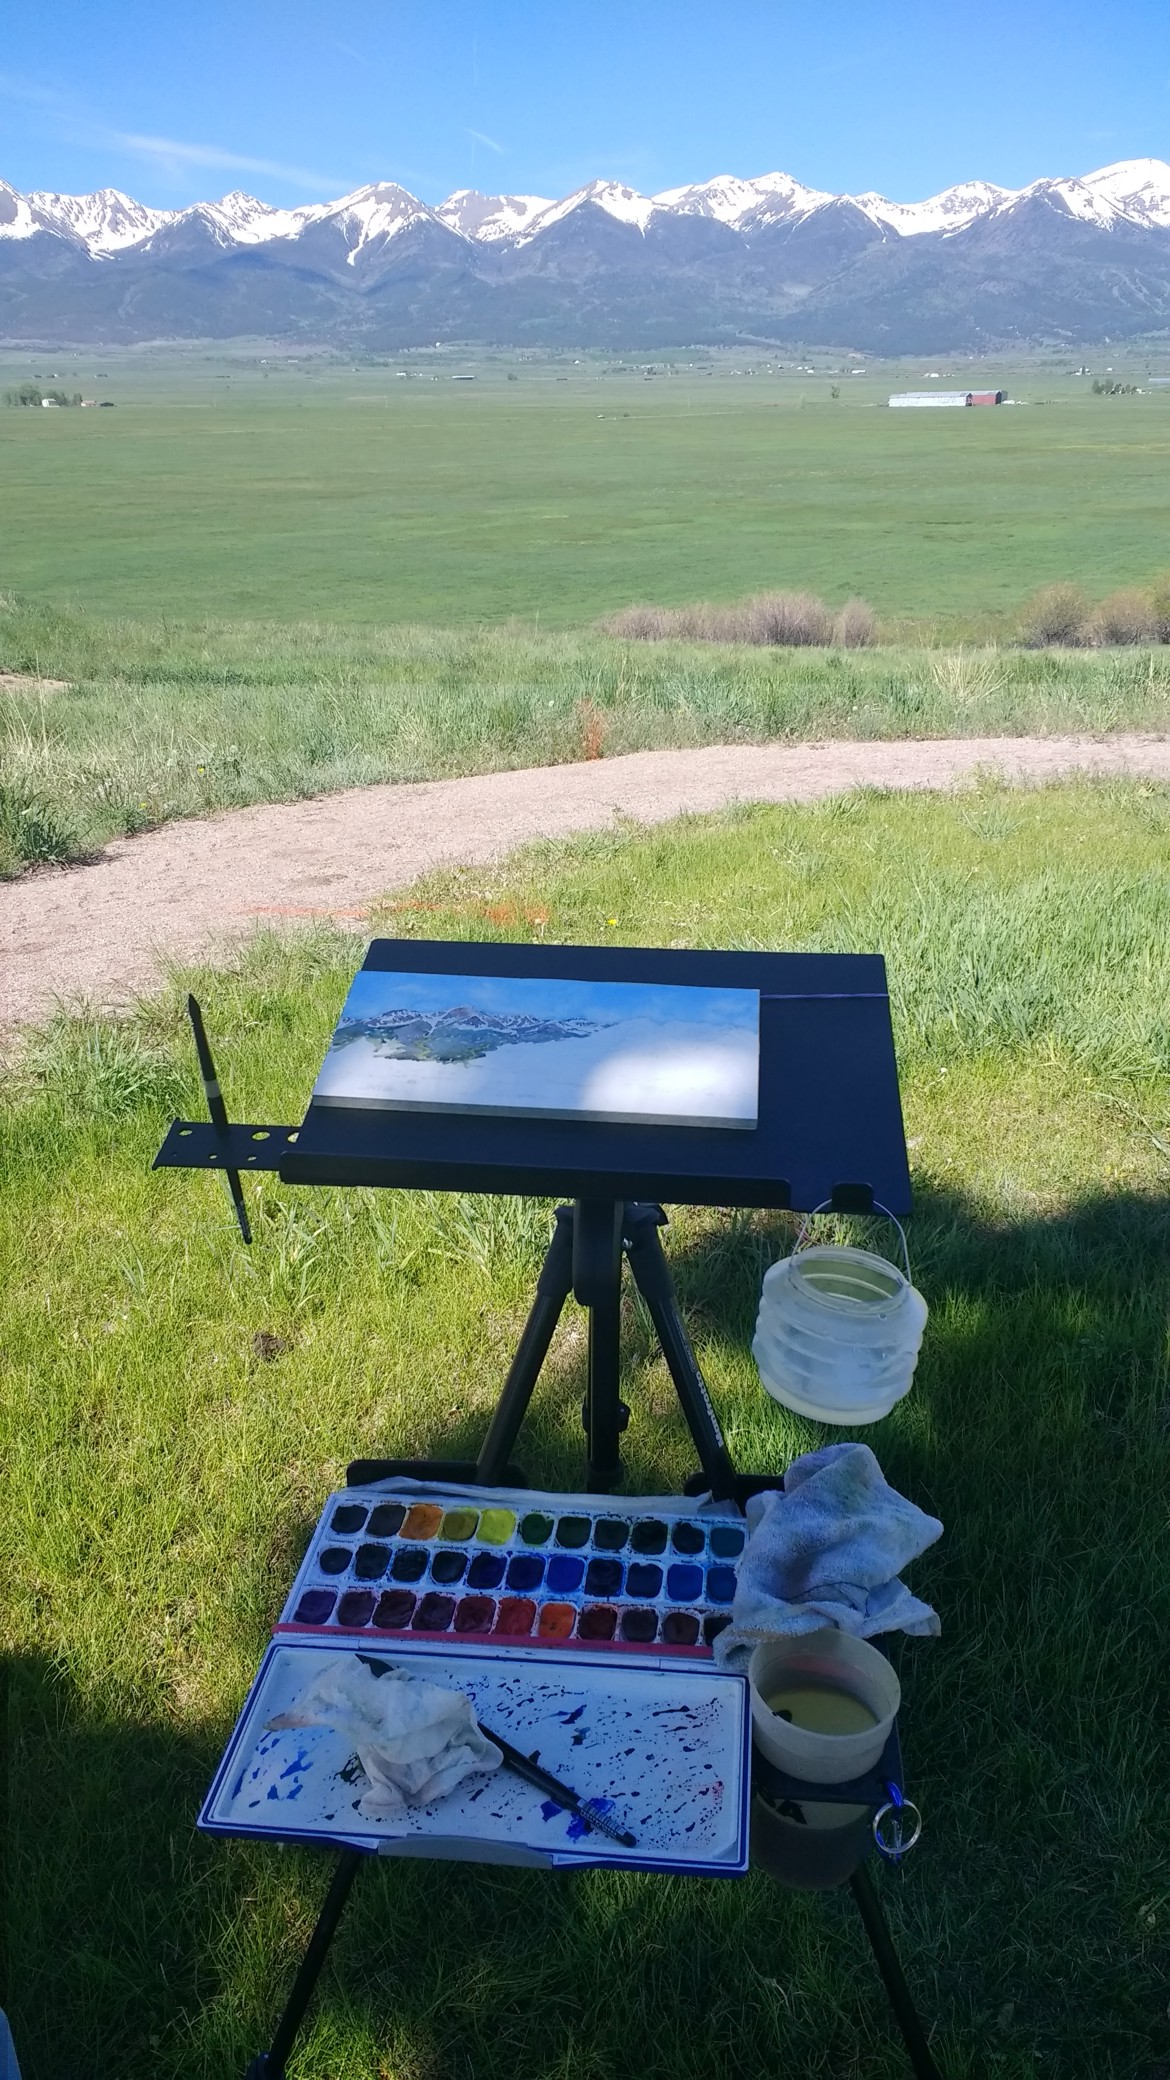
The equipment I use is evolving as I do more plein air painting. I have a set up from En Plein Air Pro (https://enpleinairpro.com/) for my easel and palette tray that is light weight and very easy to use and fit on my own tripod. I am in the process of acquiring an umbrella that I don't have to hold. It is important to shade your painting to see the colors accurately and not blind yourself with the white of the paper. If I am going to paint near my car then I will take a rolling backpack that allows me to bring way more than I need. If I will be doing some walking or hiking to a location, then I pare down my supplies to my small Guerrilla palette, a couple brushes, a small plastic container of water, paper towels, and one or two blocks of paper. If I don't have an umbrella, I look for shade and a comfortable place to stand or sit.
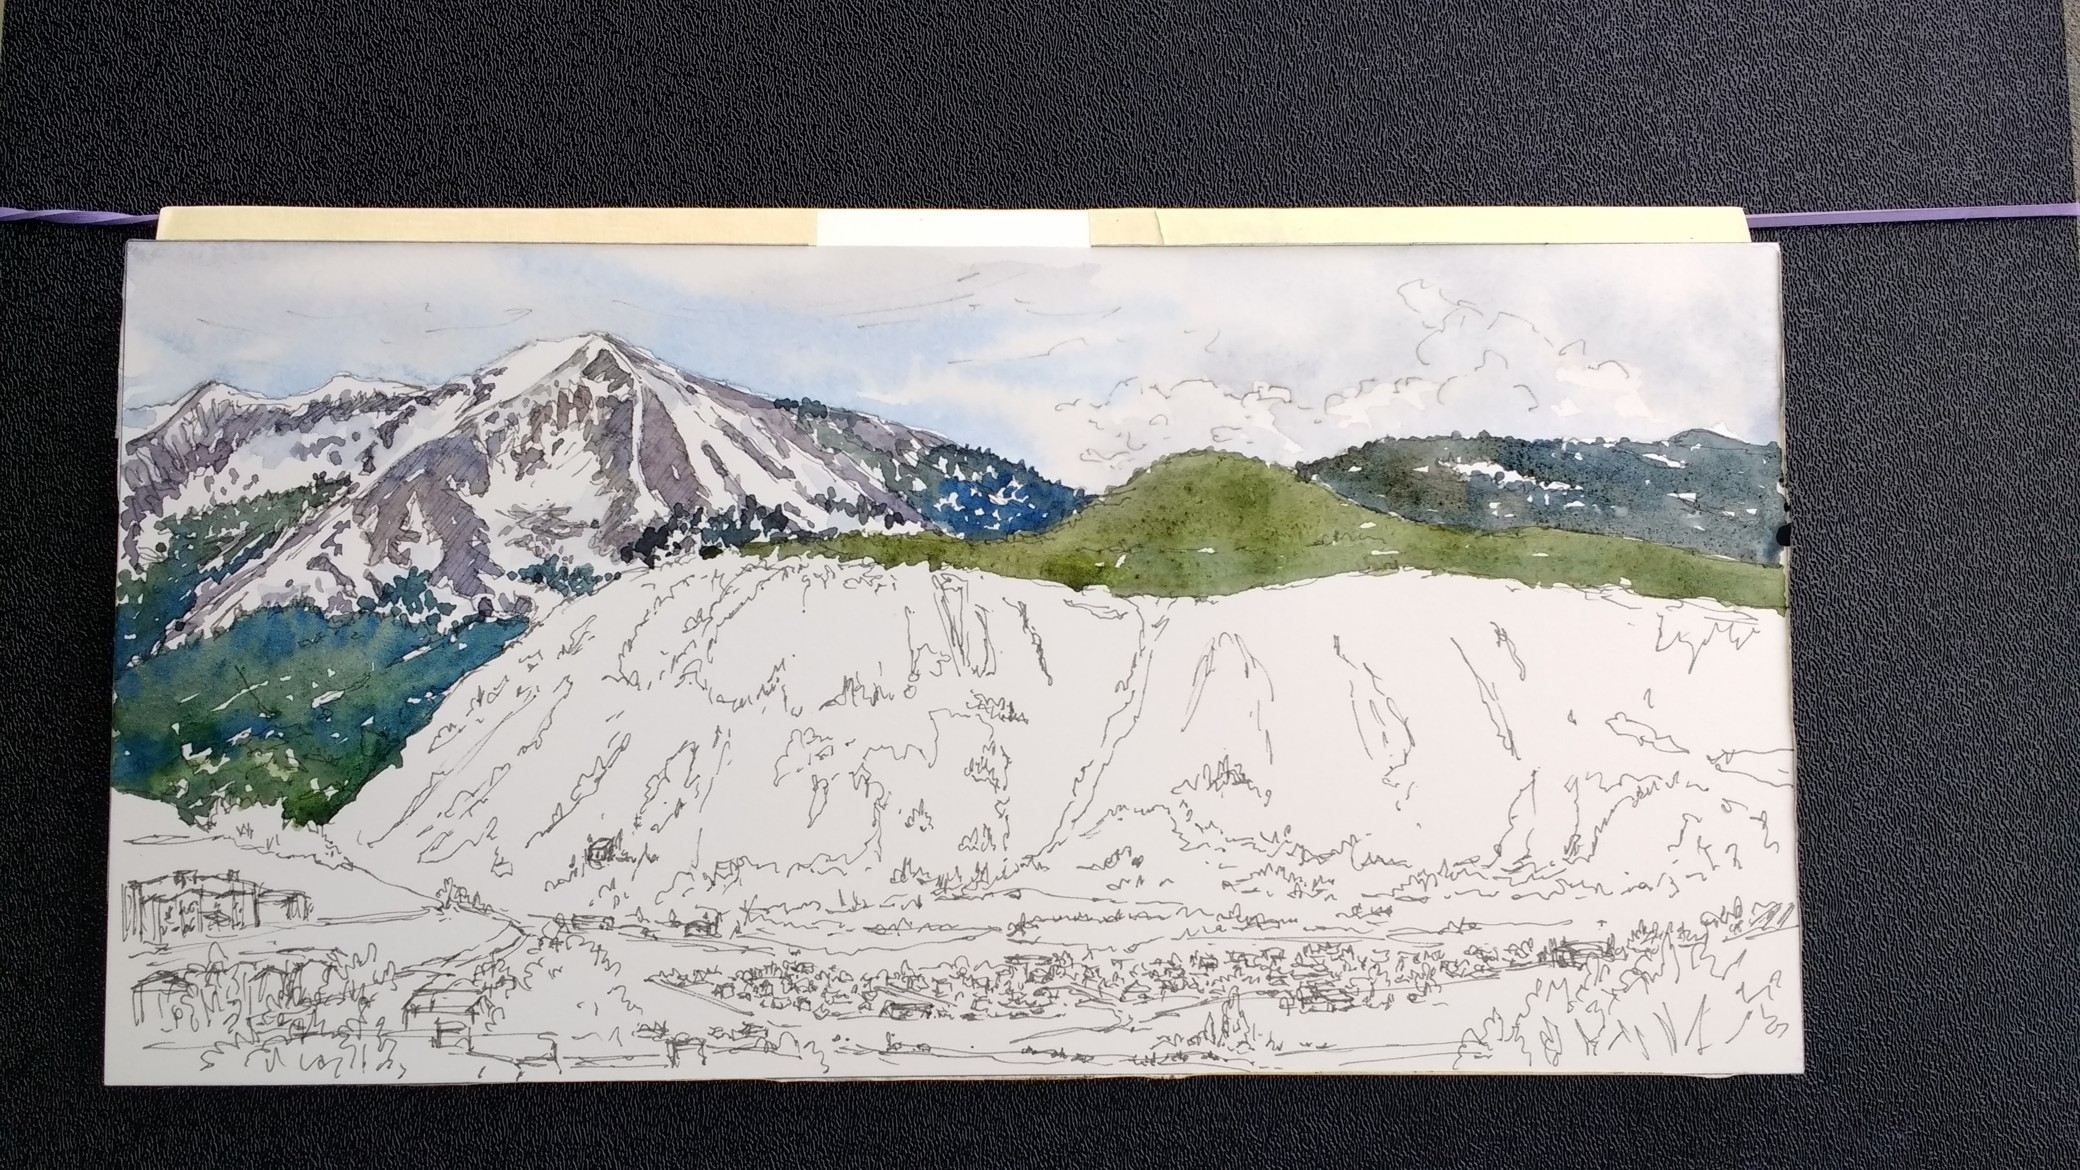
One of my recent changes to my supplies is to paint on Hot Press paper instead of the Cold press paper that I like for all my studio work. I like to use ink and watercolor and find the Hot Press a better surface for this. I also do a lot of my initial drawing with a waterproof ink pen when painting outdoors because it helps me loosen up and not be so precious with every mark because I can't erase. I like using the Graphik Line Maker (graphite color, .1, .3, or .5) from Derwent for my ink because it looks like pencil and is waterproof or if I want a darker line I use a variety of black ink pens from Staedtler, Copic, Uni-ball and others. I don’t always do plein air as an ink and wash, sometimes I will do a quick sketch with pencil and then paint.
I have also collected and tried many brands of sketchbooks and watercolor papers. I have found that right now, I really like using a watercolor paper block for most of my paintings. I like the ability to remove a painting to keep or sell without tearing apart a sketchbook and with a watercolor block, if a painting isn’t working, I can remove it. Plus, the watercolor blocks I use are the professional grade, 100% cotton paper that I like to work on; and a lot of the sketchbooks I have are not watercolor paper or they are a blend of wood pulp and cotton and not archival.
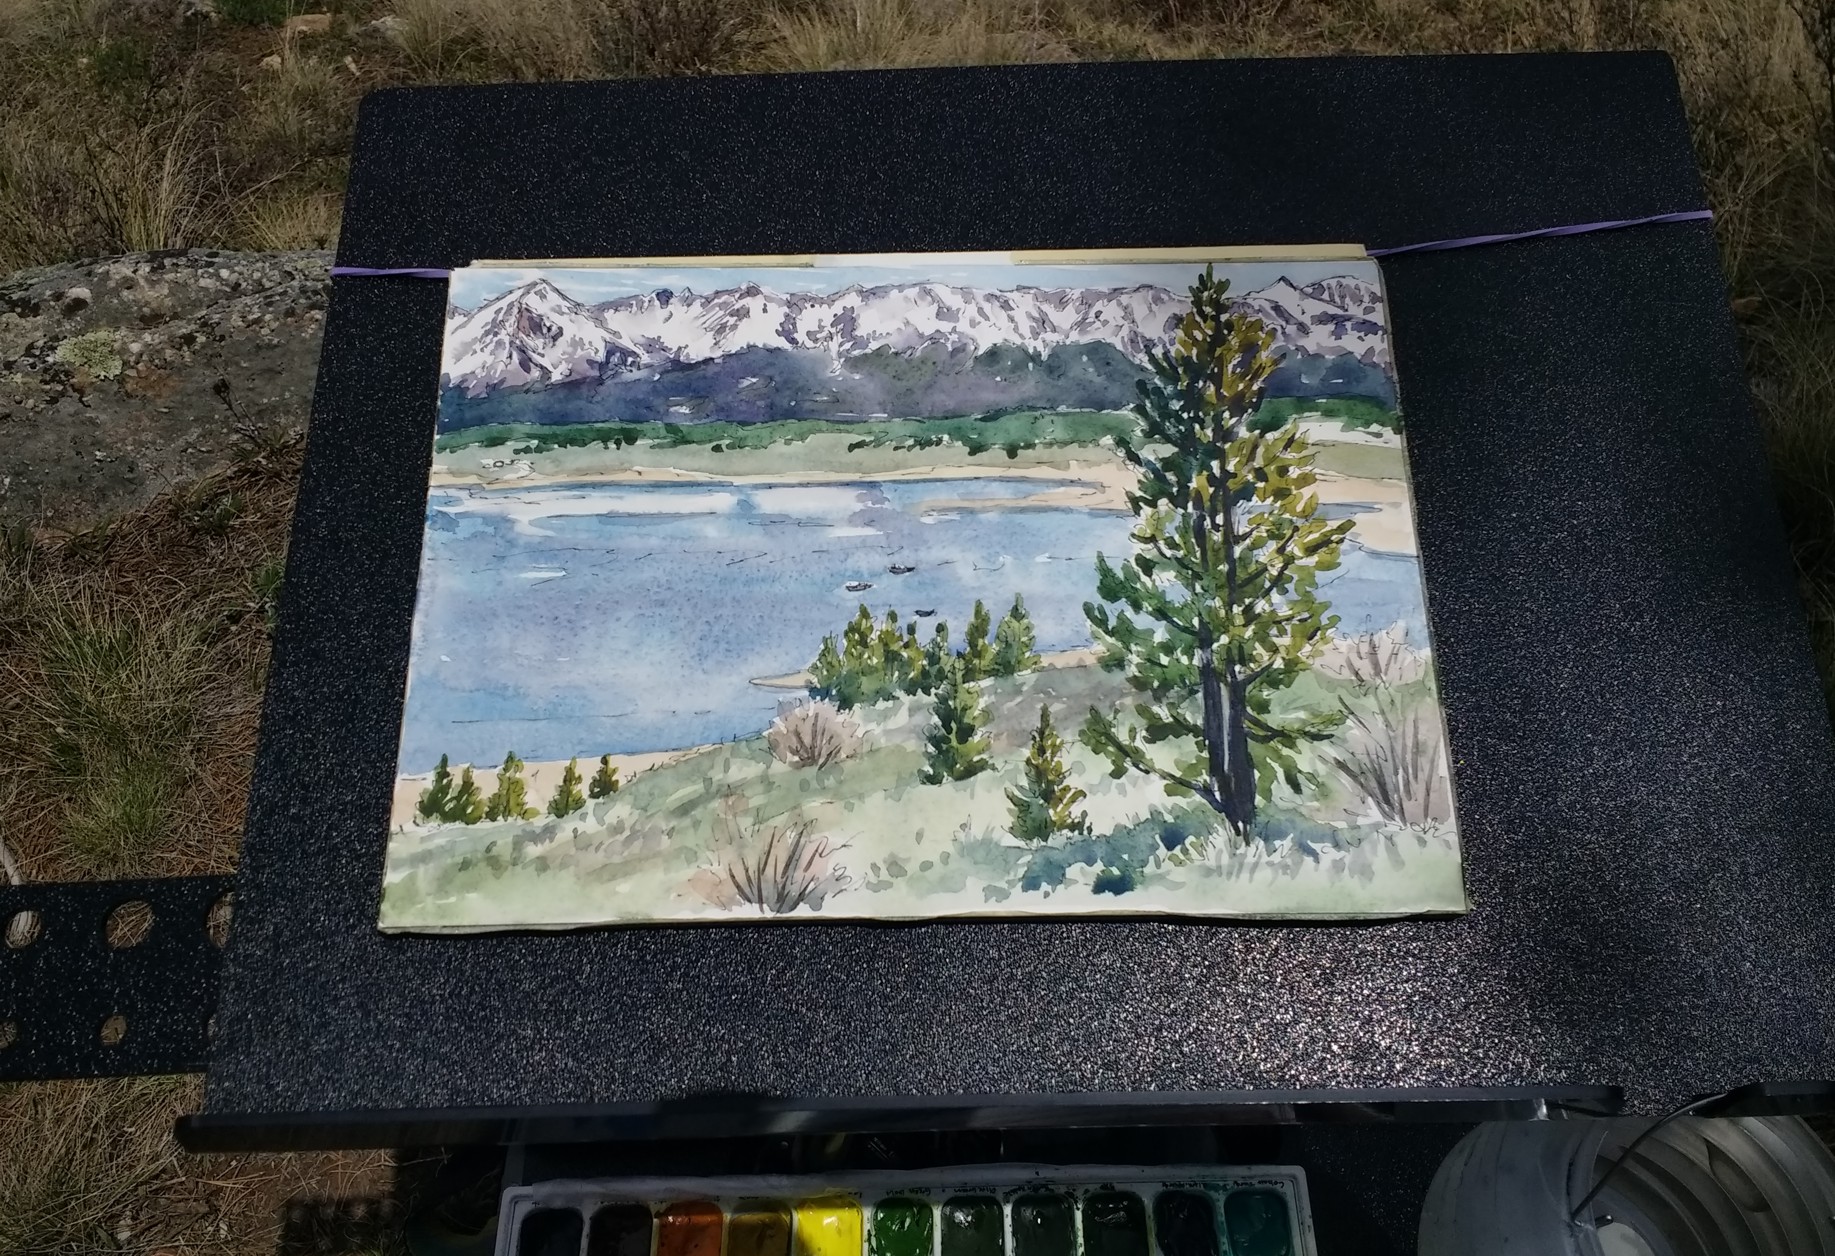
I always bring my digital SLR camera to take some good pictures of the scene. I think of my paintings as studies to inform a possible larger painting, which can relieve some of the pressure. However, I have had quite a few plein air "studies" that I am happy with as little paintings in themselves. I have matted these and taken them to a couple galleries I am represented by.
Plein air painting can be a challenge, but the fun of getting out with other artists, creating a sketch or finished painting, and the joy of being outside far out weigh those challenges!